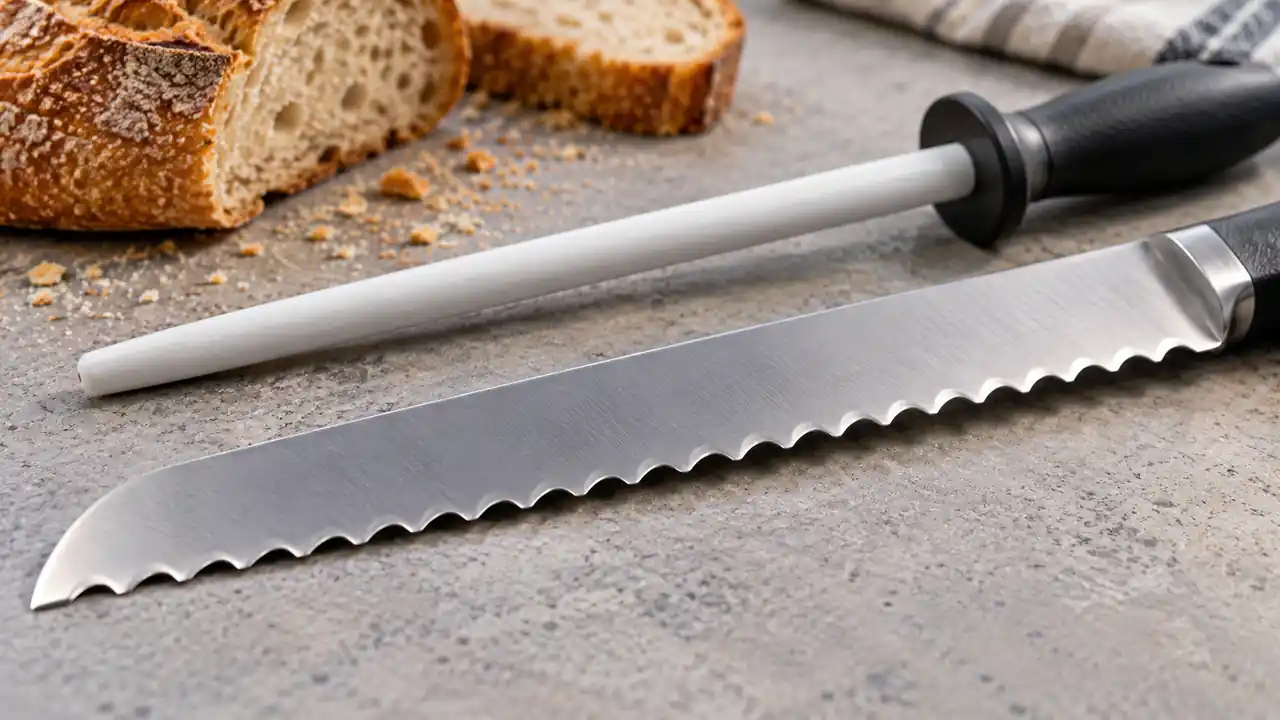
Sharpen a serrated knife only with a method that matches its tooth pattern, blade material, and manufacturer’s instructions. Some scalloped edges can be maintained with an appropriately sized abrasive rod, while other designs need a specified device or professional assessment. Do not run every serrated blade through a sharpener intended for plain edges, and do not assume microserrations can be treated like large scallops.
A serrated edge needs an abrasive and method that suit its pattern. The serrated-knife sharpener comparison helps you assess equipment options, while the checks below explain when home maintenance is appropriate.
Identify the Edge Before Using an Abrasive
Clean and dry the knife, set it down securely, and inspect the pattern in good light. Look at the size of the recesses between teeth, whether the grinding appears on one face or both, and whether the maker identifies a special serration design.
The visible tooth pattern is only part of the information needed. A straight-edged ceramic knife, a serrated ceramic knife, and a steel bread knife may require entirely different maintenance. If the material or design is unclear, obtain the maker’s guidance before removing material.
Also separate sharpening from light maintenance. The explanation of how honing differs from sharpening helps clarify why a smooth rod and an abrasive surface do not necessarily perform the same job.
Decide Whether Home Maintenance Is Appropriate
Light loss of cutting performance is different from bent teeth, missing sections, substantial chips, or a blade whose original pattern has been ground away. An unfamiliar, damaged, or valuable specialist edge is not a good place to improvise.
Different manufacturers can give legitimately different instructions because their tools and edges differ. Work Sharp describes individual-serration maintenance with an abrasive hone for the method shown there. That should not be transferred automatically to another tool, edge material, or pattern.
By contrast, Shun’s serrated-utility guidance discusses its own maintenance route and service limitations. Read the current instructions for your knife and the proposed sharpener together, rather than choosing whichever general tutorial seems easiest.
Match the Abrasive to the Recesses
For a rod-based method that the maker permits, the contact surface must fit the recess without simply grinding off the tooth tips. A tapered rod offers different diameters along its length, but that is useful only when the selected area matches the actual pattern.
A wide abrasive that bridges the teeth does not recreate the recessed edge merely because it removes metal. Equally, a narrow abrasive can alter the recess if it is tilted or pressed without control. The aim is to maintain the intended geometry, not to make every visible surface shiny.
Some powered systems use a different permitted contact surface or finishing process. Follow that system’s instructions rather than combining its pressure, angle, and stroke advice with a manual-rod tutorial.
A Controlled Sequence for a Compatible Manual Method
- Confirm permission and setup. Verify that the knife and abrasive are compatible. Arrange stable support and keep hands away from the anticipated blade and tool paths.
- Identify the surface to maintain. Follow the maker’s description of the ground face and any treatment of the opposite side. Do not assume both faces should receive equal grinding.
- Choose the matching contact area. On a tapered abrasive, select the portion that fits the recess rather than forcing a larger diameter into it.
- Use the specified movement. Keep the abrasive aligned with the intended geometry and use the pressure and stroke direction prescribed for the method. Stop if the contact is unstable.
- Progress consistently. Work in an orderly sequence so one area is not repeatedly abraded while another is missed. There is no universal stroke count that suits every condition and material.
- Finish only as directed. Burr removal and treatment of the other face depend on the method. Do not add an improvised aggressive pass through a plain-edge slot.
- Clean and assess. Remove abrasive and metal residue according to the instructions, then assess cutting on suitable food with normal controlled technique.
Do not slide a finger along the edge or use an unprotected hand to locate a burr. If you cannot determine the result safely, pause and use an appropriate sharpening service rather than continuing to remove material.
Do Not Mistake a Food-Handling Problem for a Dull Knife
A warm sourdough loaf can compress even with a sound blade. Follow the checks in cutting sourdough without crushing the crumb before deciding that sharpening is the only solution.
Tomato skin presents a different problem from a firm crust. The guide to slicing tomatoes without heavy downward pressure explains how stability and the drawing motion affect the result. A food test should be an ordinary controlled cut, not a demonstration performed close to fingertips.
Steak knives may use smaller or more complex tooth patterns than a bread knife. The comparison of serrated and plain-edge steak knives explains why maintenance expectations can influence the choice of edge in the first place.
Know When to Stop
Stop if the tool will not fit the pattern, a tooth is visibly damaged, the intended face is uncertain, or cutting performance keeps deteriorating. Removing more material is not a dependable way to correct a geometry problem.
For replacement decisions, consider whether the knife can be serviced, whether the manufacturer supports the proposed method, and whether the blade still has a usable shape. A maintained serrated edge remains a specialized geometry; turning it into a roughly ground plain edge is a different modification.
